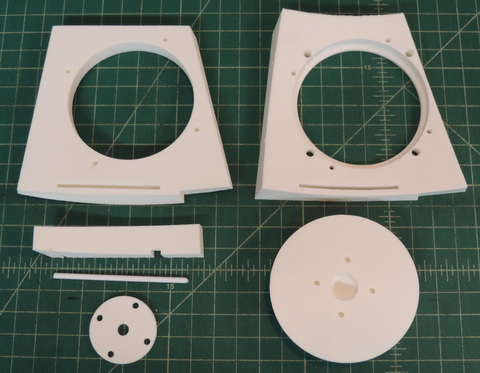
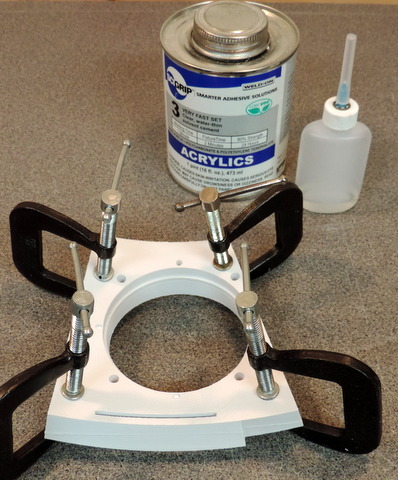
| Left: Radar Eye Parts set (including optional 3D printed Lens)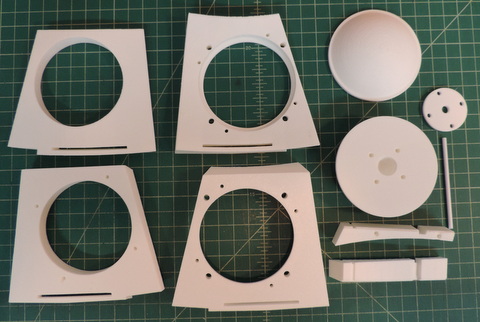
Above: Using extra parts to show both front & back views. |
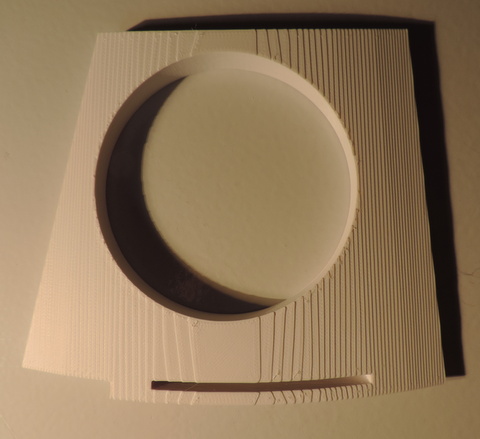
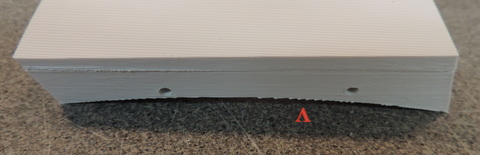
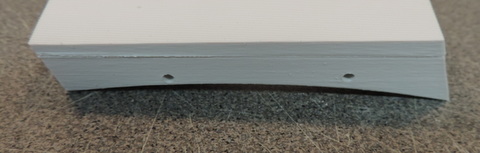
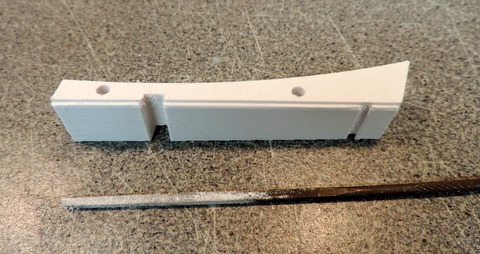
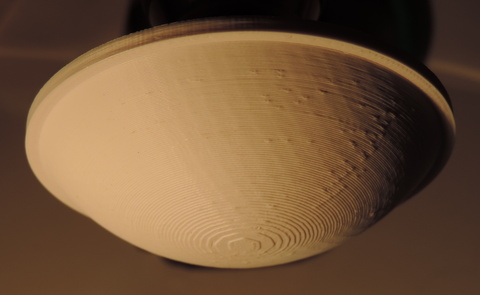
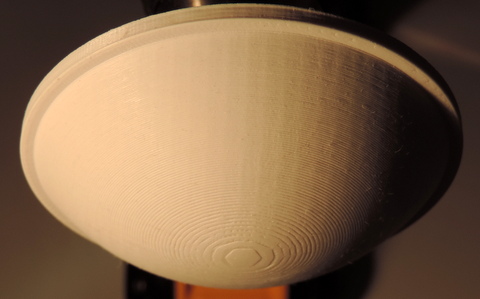
Above
& Right: These two images show the layering from the 3D Printing
process. Side lighting (note the shadows) emphasizes the layers! | 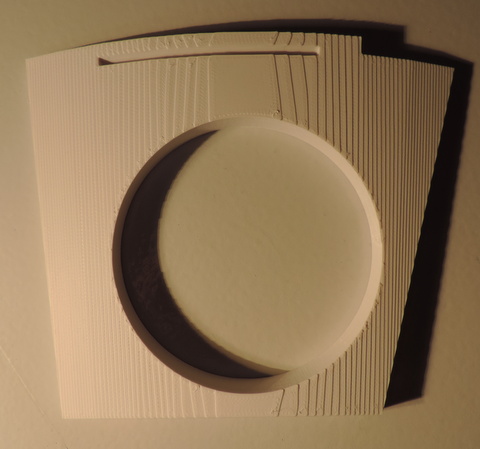 |
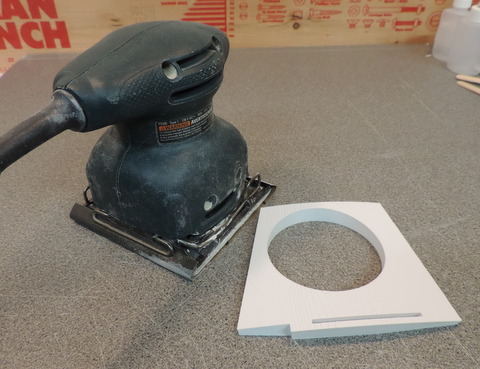
Above:
I used a small palm sander and several sheets of sandpaper working from
coarse to medium to fine grit as the edges faded away
Right &
Below: Work carefully with the sanding. You don't want to create a flat
spot by taking too much off any one location. | 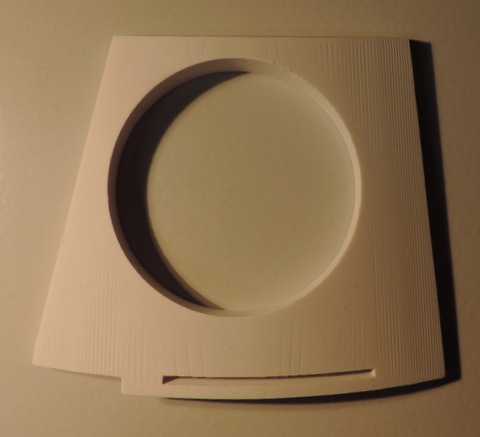
Keep the sander moving. Check your progress frequently using the side lighting |
 | 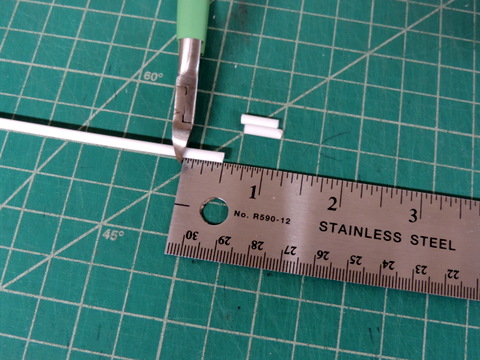
Cut the supplied 1/8 in styrene rod into short pieces. |
Drill out the small holes with a #30 drill to accept the pieces of
rod. If you don't have a #30 drill I can ship one to you with your
parts order. 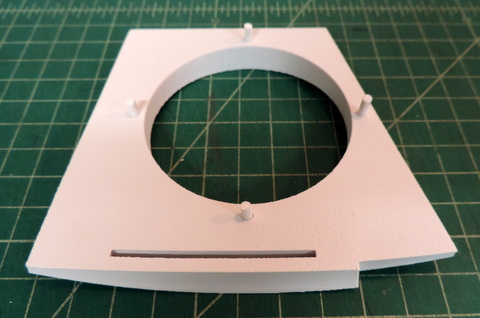
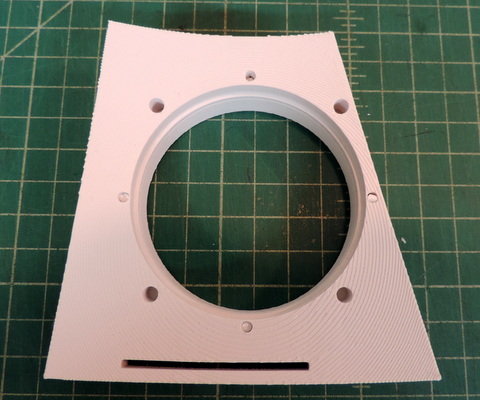
This is an older version of the part. the small holes have been
rotated to move the one on the right edge away from the narrow part of
the edge.
|
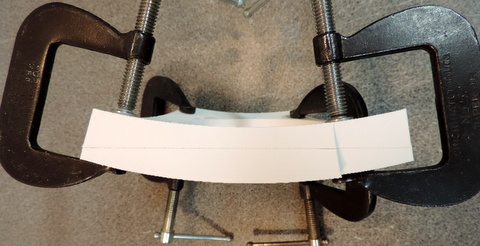
Assemble the two halves of the Radar Eye Body. Make sure the alignment rods don't extend beyond the surface. |
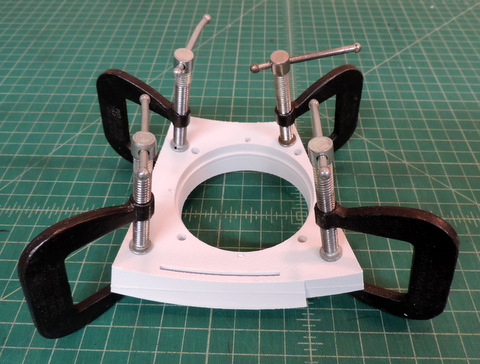
Above & Right: clamp the two halves together
Right Put some #3 Weldon cement into an applicator. (I don't store it in the applicator - it evaporates too easily!)
|  |
Verify the joints are tightly clamped tightly together. Apply a
generous amount of cement to the 4 alignment holes. Also apply cement
to the joints on all 4 edges. Let the cement cure before proceeding. |
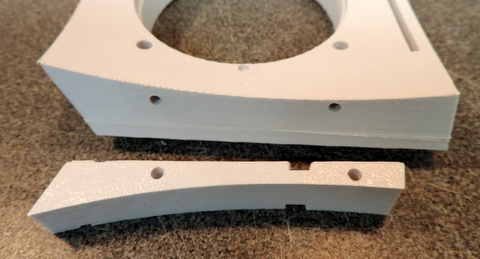
There might be a rough edge on the rear of the radar eye
where the shelf piece joins. remove it now while it's easy to get to. |
Take
a moment to 'sharpen' up the edges of what will become the notch
between the body of the Radar Eye and the shelf piece. |
If you have not already enlarged the alignment holes. do that now on both pieces. |
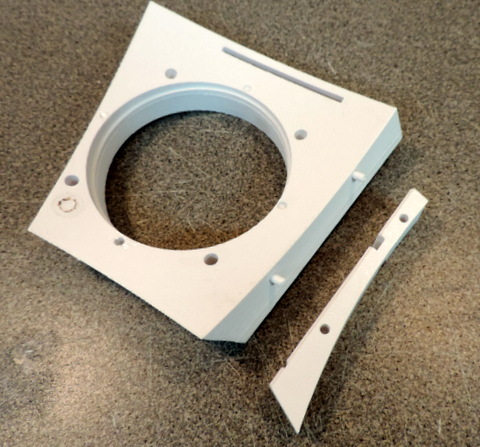
Right: cut two more pieces of the 1/8 in styrene rod and check the fit of the shelf piece | 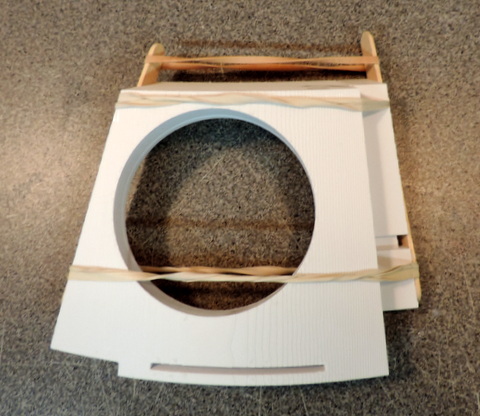
There isn't a good way to clamp the shelf piece
to the Radar Eye Body. Rubber bands hold the pieces in place. |
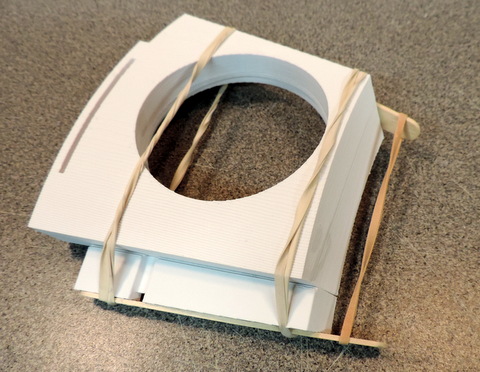
The
popsicle sticks add a little extra pressure at the rear edge of the
joint. | 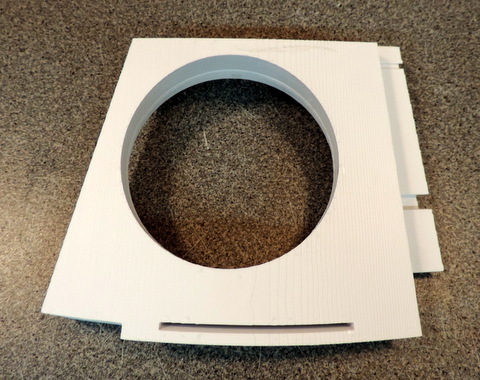
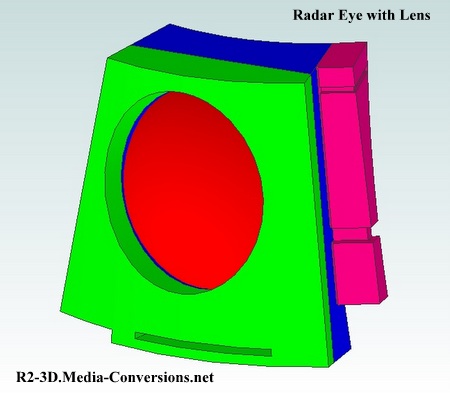
Finished Radar Eye Assembly. |
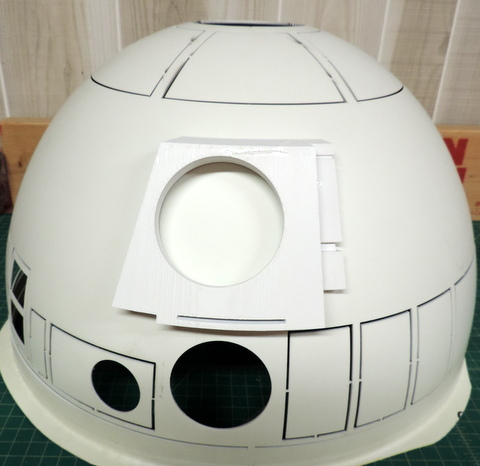
The Radar Eye is just taped in place as an example of the fit to my Dome. (Finally found a use for it!)
|  |
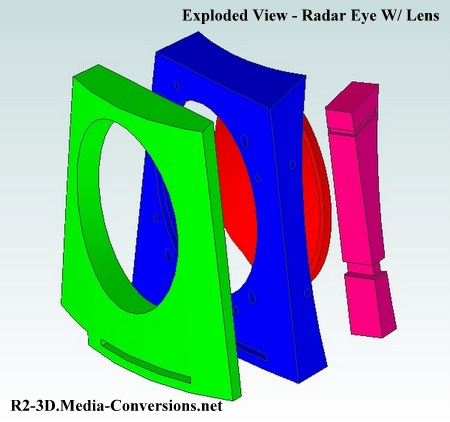
Wondering how you are going to get a smooth finish on your Lens? We added a recess with 4 mounting holes on the rear of the lens and have included a mating disc. You supply a 1/4-20 bolt & nut to serve as a shaft. Mount
the disc onto the back of the lens using a couple of 6-32 bolts (they
cut their own threads - don't over tighten!),
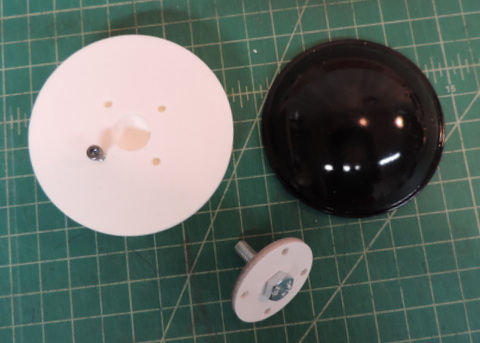 | Chuck it in your drill and polish away.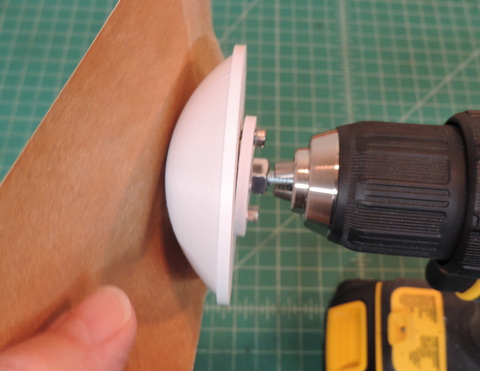
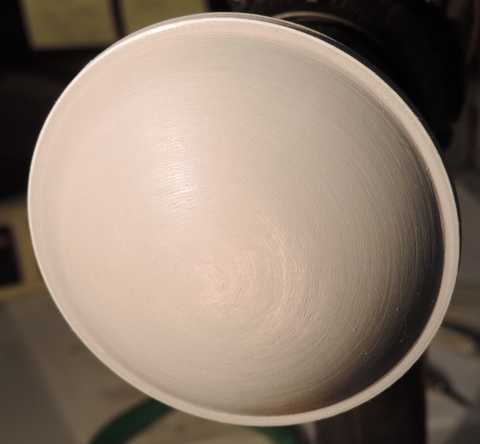
Repeat the sanding process you used on the Front of the Radar Eye. |
|  |
Work from coarse, to medium, to fine grit sandpaper. Keep moving the sandpaper around on the surface of the lens. 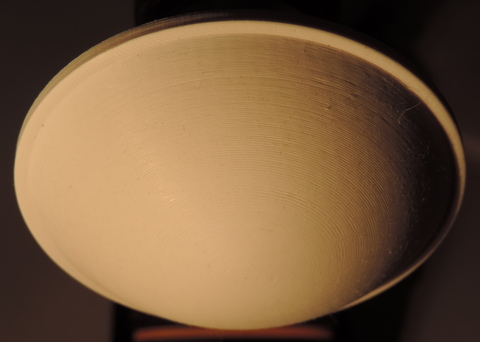
Right:
Once you've got the Surface of the lens nice and smooth it's time to
apply High Fill Primer. I don't (yet) have a spray booth, so I
improvised by taping a few sheets of cardboard together. The lens (still attached to the bolt - note it's not touching the cardboard) is sitting on top of a lazy Susan bearing taped to a large piece of (scrap) plastic. | 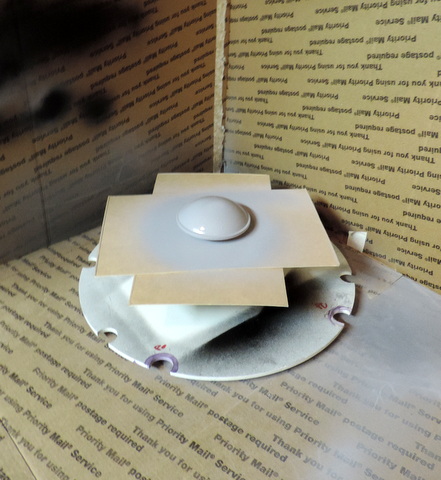
Spray
the paint as the lens turns. Don't have a lazy Susan? Just turn the
piece of cardboard under the lens as you spray the edge closest to you!
Keep the spray can moving. |
First coat of primer, sanded lightly. | 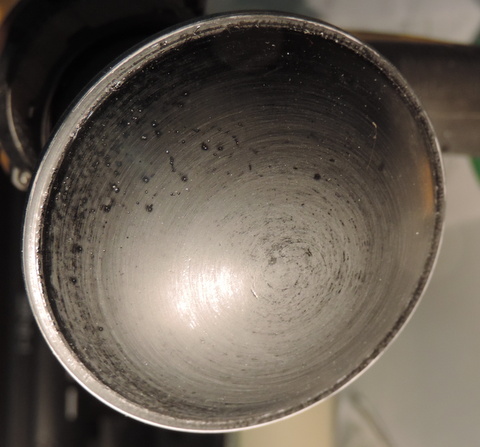
First coat of Black, also sanded lightly |
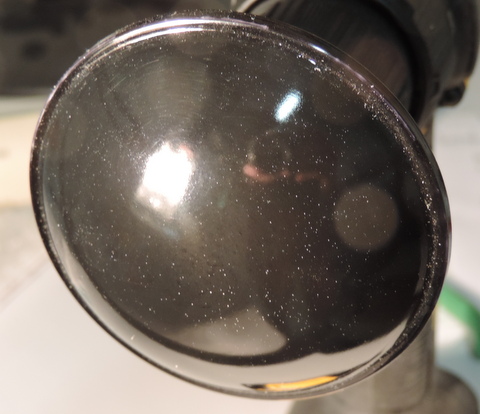
Final Coat of Clear. It's a dust magnet! :-( | 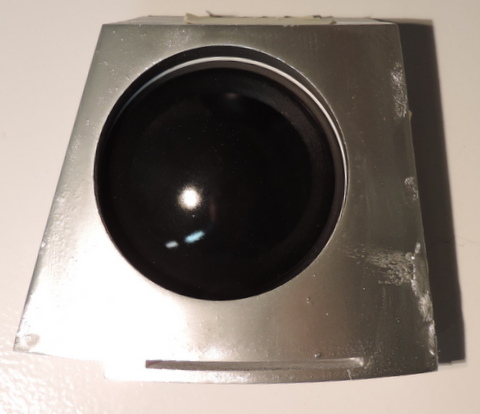
I didn't do a very good job of painting the front of the Radar Eye. But this at least gives you an Idea of what you can achieve!
That's Rust-Oleum Bright Coat Metallic Finish. |